9mm AR’s don’t have to be finicky. Build it right, from the start, and you’ve got nothing to worry about.
They’ve been called “legos for adults” and for good reason, the now ubiquitous AR15 is one of the easiest things to build you’ll come across in the firearms arena. Building, or more precisely assembling, a 16″ AR15 in the common 5.56 caliber and with all ‘mil-spec’ parts is relatively easy and fairly straight forward.
You’ll have a ton of different options but for the most part everything is fairly plug and play. Once you start changing up calibers and barrel lengths things can start to get dicey. Gas length system really becomes an issue, buffer weights, adjustable gas blocks, what magazines will work in the lower I’ve chosen, wait, what type receiver am I using?
Think of it this way, the 16″ 5.56 AR is like a Honda but the 7.5″ 7.62x51mm or custom 9mm build you plan on running suppressed is like a Ferrari- you shouldn’t just start grabbing any part off the shelf and expect it to run well. You’re going to have to precisely tune it if you want it run properly but if you use the correct parts up front there will be minimal, if any, tweaking to do on the back end.
The standard AR-15 wasn’t meant to run a short 9mm cartridge, nor function as a blow back firearm. If you really want one to run, you should look into dedicated 9mm receivers and corresponding parts.
A special thank you to Quarter Circle 10
They are extending 13C Subscribers with 15% off at:
www.quartercirle10.com with code “Joe13C“.
For this build we started with the Side Charging Glock Small Frame (GSF) Builders Kit from QC10. It includes the GSF Stripped Lower (w/ needed parts for 9mm Glock mag use) and Side Charging Upper receiver, 1/2x28mm threaded barrel (5.5″, 7.5″, 10.5″ or 16″), G9 Bolt assembly and Adjustable Buffer Kit; all of which were made and designed for 9mm use, not modified.
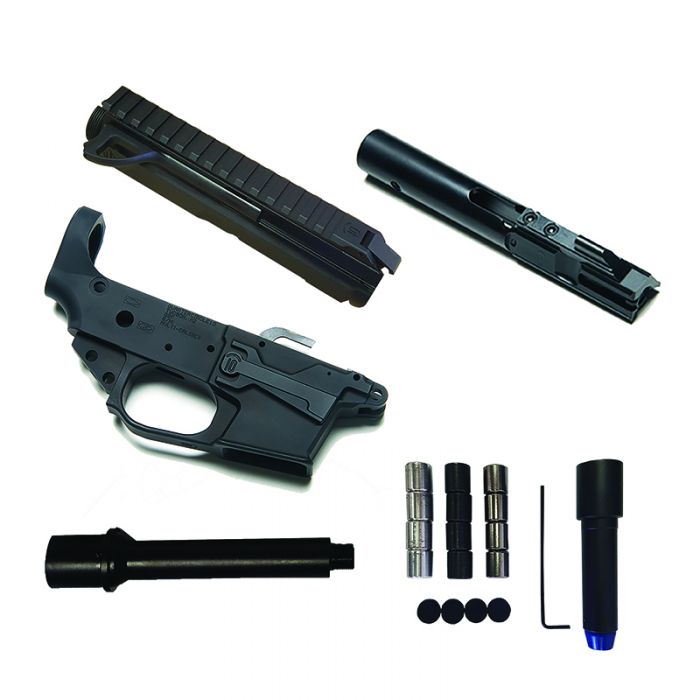
With these key components as your base you’ll be eliminating the majority of issues most 9mm builds face by getting parts designed not just to work with 9mm but designed and fitted to work together in one package.
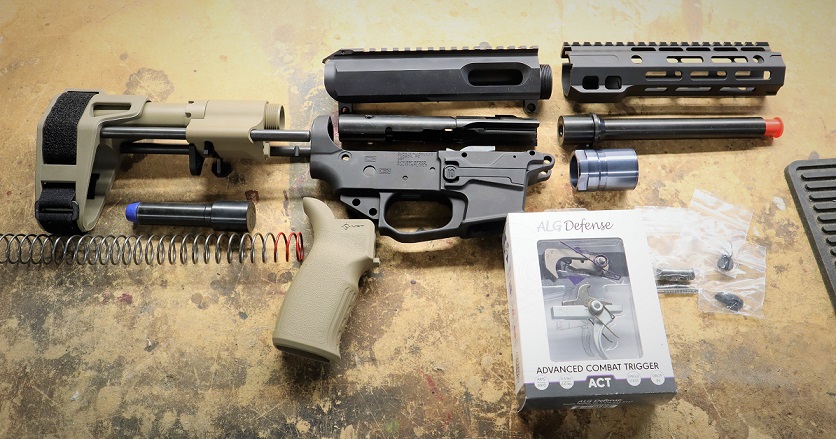
To Complete the build you’ll need to pick up the most common items people like to customize such as the Brace (or stock if building an SBR), grip, trigger and rail.
The Upper will be the easiest to complete, you’ll only need a rail and corresponding barrel nut. Initially my plan was to use Geiselle MK8 rail in DDC but I completely forgot that the Side Charging (and forged) uppers don’t usually play well with anti rotation tabs. This was my fault and luckily I have a very sweet 300blk out build that I was looking to upgrade, so you’ll see that rail in an upcoming video.
As I went about finding a new rail to use on this build I found myself back at the QC10 website, they have specifically cut rails to match perfectly with their barrel lengths. I whipped out the credit card and fired off an order, less than a week later my rail was on the porch and I was ready finish the build.
The lower, while it contains the key 9mm components, is still technically a “stripped” lower so you’ll need a lower parts kit to finish it off, we picked one up without a trigger to save some cash. For the trigger we selected the Advanced Combat Trigger (ACT) from ALG Defense. Please see the stand alone review and a Giveaway for that HERE .
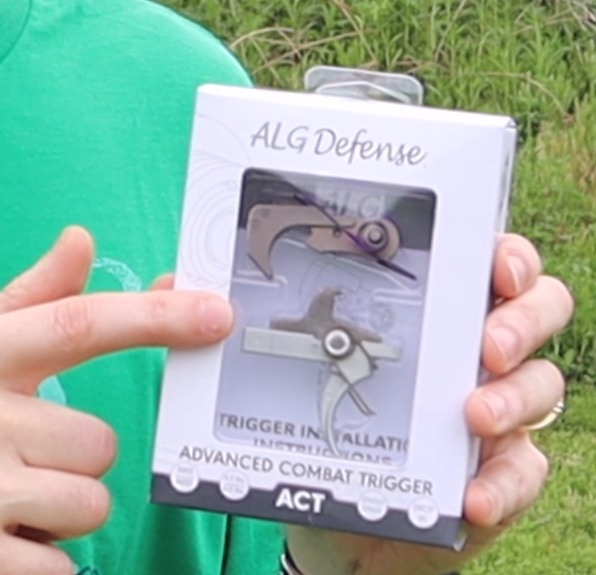
Trigger selection on a 9mm AR is critical to good performance.
Your favorite AR trigger might not be the best choice to interface with a 9mm bolt. Go with the proper profile and save yourself some grief.
Remember above how I alluded to building a Ferrari? Timing is everything on a 9mm AR and selecting a trigger with a profile that isn’t ideal means you will be having a negative effect on the speed of your bolt in BOTH directions. You can try and offset that by tweaking with the variable weight buffer that comes with the QC10 Builder Kit or… you can get out ahead of it from the start and save yourself some grief.
Getting this correct, right out of the gate, means you shouldn’t have to lower the buffer weight. Why does that matter, isn’t that what the adjustable buffer is included for? Well if you plan on running it suppressed you may find yourself having to increase your buffer weight every time you put a can on it and then decrease it again when you take the can off just to run your ‘favorite’ trigger.
This leads us to the buffer spring. I chose a Sprinco Red Buffer spring. Again, purpose made for Pistol Caliber Carbines (PCC).
Buffer weight. In our case, I didn’t have to tinker with the buffer weight at all, it runs properly with or without a silencer. Instructions are included with the kit on how to properly change weights and use the included spacers. If you need to adjust them, it’s very easy, just remember to follow the spacer placement guide.
This wasn’t by accident, every single component was purposefully selected to run in a 9mm build
Brace, stock or slick buffer tube? There is no wrong answer here but understand if you have a barrel under 16″, you must file the requisite paperwork and have your SBR tax stamp in hand before you attach a stock.
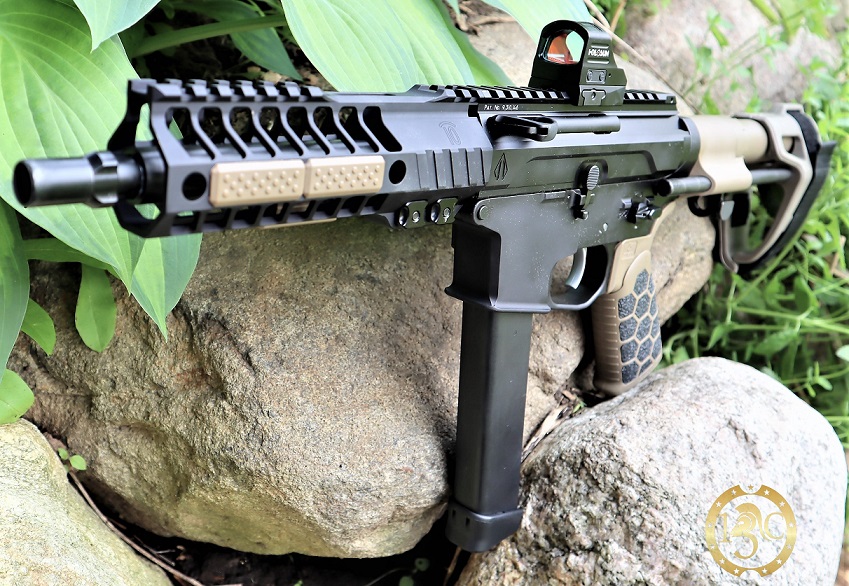
We selected the SB-PDW Brace from SB-Tactical. It is a 3 position adjustable brace that doesn’t just look good, it’s also highly functional. We’ll have a separate review on the SB-PDW coming up in the next few weeks.
Over a thousand flawless rounds later, many of them suppressed, this setup just won’t quit. Be sure to check out our videos on this build.
YouTube will have the “neutered” version (sans the actual build process) and Gunstreamer and Full30 will have the full version which features the entire build process.